Tuesday 27 January 2015

mat and layer with dies

its tutorial Tuesday again and today is mat and layering with dies.
 
I used decorative dies in this video but there are basic shapes and labels on the market. although you can mat and layer using just the dies, I find the layers a bit too wide apart, so I like to cut the size I need for the mat then draw around the outside edge of the same die for my layer for a finer border.
 
 
Mx

Wednesday 21 January 2015

a totally great tote!!


this is a canvas tote I have free motion machine stitched some applique onto. it's quite simple to do, and although I did ok for my first attempt, I do think practise will make perfect !!
 
 I bought the blank canvas tote from hobby craft. I used heat n bond on to some tilde fabric I had and die cut the letters and butterflies using some of my sizzix dies. I then bonded my shapes where I wanted them and free motion stitched around the outline to secure the pieces in place.
 
Mx
 

Tuesday 20 January 2015

Mat and layer with punches

Todays tutorial Tuesday is another technique for mat and layering. Its nice and simple to do, using a punch to create your matt and another to create your layer, then stick them together. If you are cutting out a message or image I would always stamp this then cut it out, to be able to line it up in the shape. Watch the video below to see...


You can also create nice shadow effects by mat and layering the same shapes together, with the layers slightly offset. This works best using different coloured cardstock, to create contrast. you can also rotate the shape slightly... this is great for flowers to create the look of more petals. another variation is to layer one directly on top of the other, you do need to shape the layers when doing this but it can look effective for things like butterflies.


Mx

Thursday 15 January 2015

pretty with puppy

 
I stamped the LOTV 'Annabel tug of war' stamp using memento ink. I coloured this using copic markers. I used sizzix ticket dies to cut this out and framed it by tracing the outer edge of the die onto pink cardstock to create my mat. Both pink mats were embossed with polka dots. I layered the background up with paper from LOTV 'pastel dreams'. I stamped the niece sentiment from 'for my family' SU! onto the main image. I also used the happy birthday from this set, which I cut out with the bitty banner die set. I layered this onto pink, and finished it off with American crafts twine tied through a button. I stuck these onto my 5 x 7 card blank following the freshly made sketch. The finishing touch was stickles clear glitter around the topper and background paper, completing my choices for the craft hoarder challenge. 


Mx


Tuesday 13 January 2015

Mat & layer basics

It's tutorial Tuesday again. This week I'm going to introduce you to mat and layering. It's a basic technique that you will use in all of your scrap booking and card making. It is the term we use to refer to a base (layer) with a smaller piece on top (mat). They can be customised to any size and shape you choose to create a finished and professional look to your projects.


 As I said before please comment and feel free to make suggestions for any techniques you would like to learn and I shall do my best to help. Follow tutorial Tuesdays to see more advanced mat and layering techniques and more !!
 
Mx

Tuesday 6 January 2015

Card blanks....

Welcome to tutorial Tuesdays... the plan is to share techniques for crafting and card making with you all. I am going to start with the basics and then share more advanced techniques. As its the new year, I thought id try something a little different so today's card blank tutorial is a video!!
 
To create your own card blanks, follow the steps in the video...
 
 
Alternatively, you can use a pre bought card blank. these come in a range of colours, shapes, sizes and cardstocks. Simply take the cardblank and fold so the raised edge is inside the card. Make sure you line the edge up then crease using a bone folder.
 
Please make suggestions for any techniques you would like me to share. Leave a comment to let me know what you think and ill do my best to please.
 
Mx

Monday 5 January 2015

lilac blooms...


I cut a mat of card slightly smaller than my card blank and stamped my floral image (so very grateful from SU!) along the bottom edge. I coloured the image using promarkers. To follow the sketch, I stamped a sentiment (express yourself from SU!) a little above the image . I also added several rows of twine with a bow tied beneath the message. I kept the colour palette simple on this card by using only 2 colours which match with my bakers twine (American crafts). I added extra detail by glittering the edges of my mat with a sakura pen. To finish the card I glued the mat to the front of my 6x4" card blank using foam pads to give it a bit of dimension.
 
 
I added an insert to add an extra special touch to the card. I cut another mat of card, edged in glitter pen with a single stamped and coloured image in the corner. I will add a sentiment at a later date to customise the card when I'm ready to send it. 


Mx
 

Friday 2 January 2015

a new baby in the new year...

 
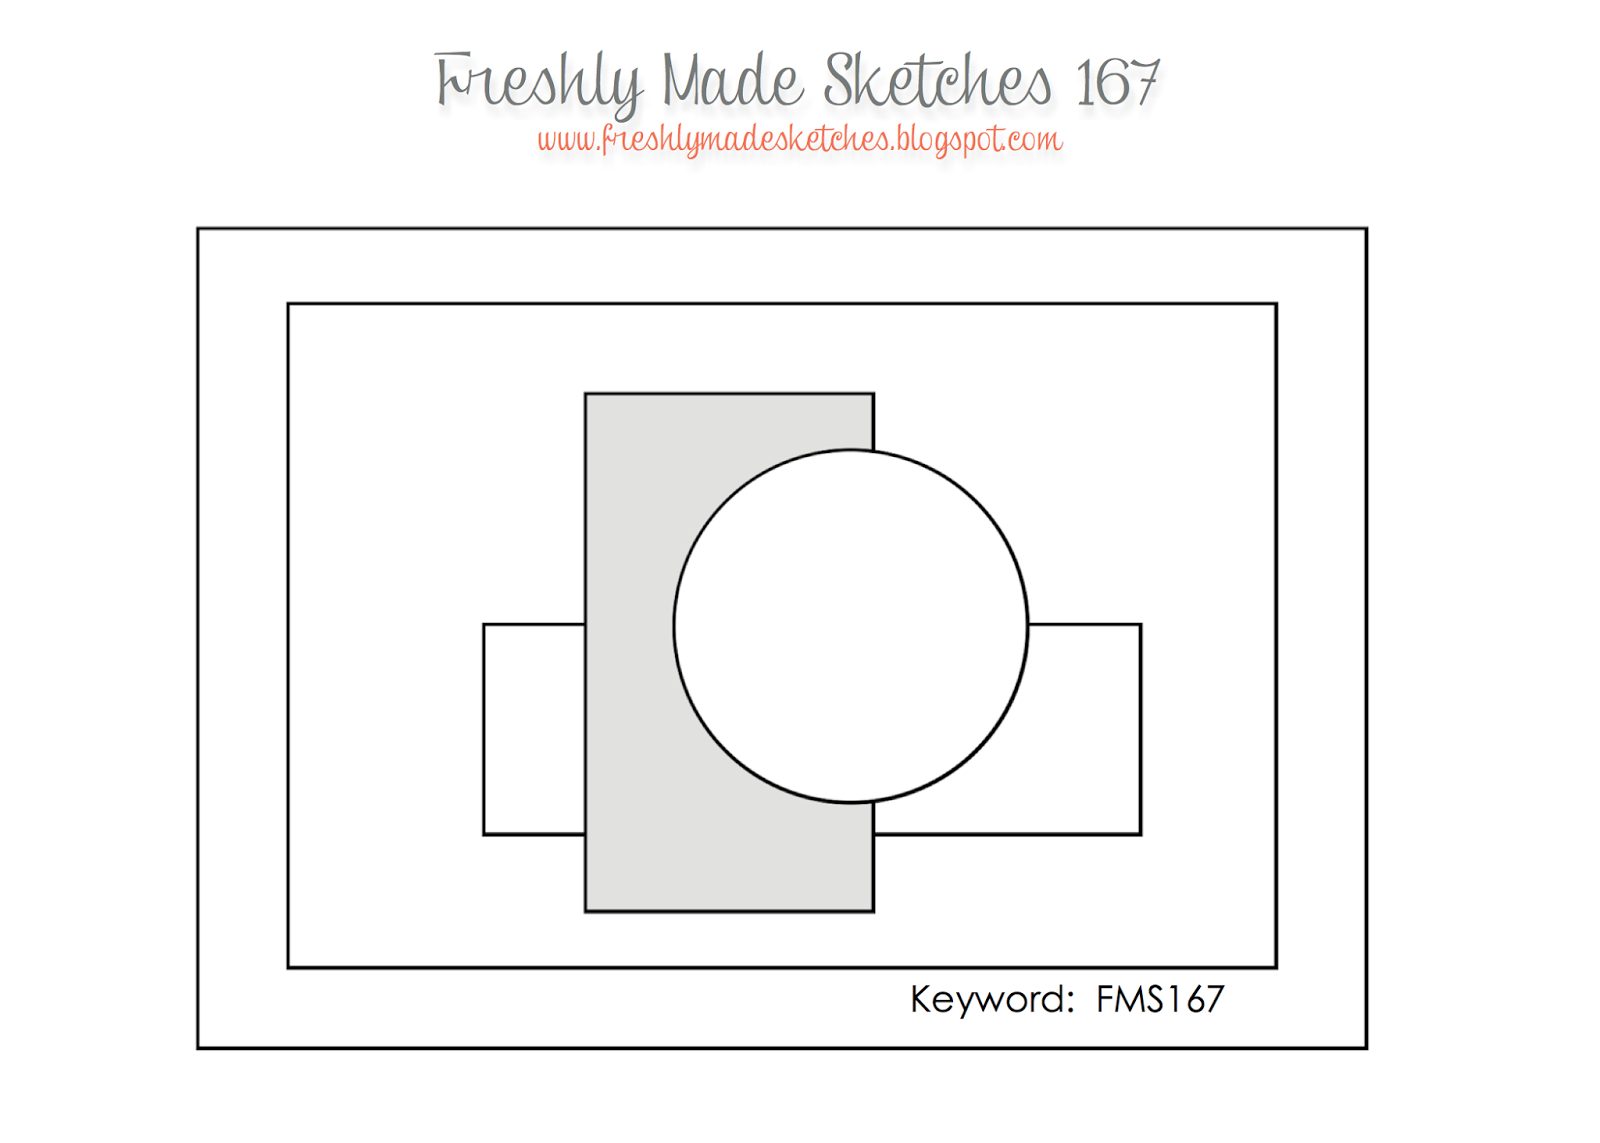
I made this cute baby card with a LOTV baby stamp. I coloured the baby's skin with promarkers then added the paper from a LOTV pad to paper-piece the bunny and clothes. following the freshly made sketch, I also cut the paper to layer the background. I added a decorative edge to the bottom white matt using the border punch (from stampin up!). I also used the scalloped and oval punches from stampin up! to frame the message from the petit pairs set. I added definition the edges of the image and message layers, as I was matting white on white, by using my Tim Holtz distress ink pad in spun sugar.
 
http://freshlymadesketches.blogspot.co.uk/
sketch #167
 
Mx